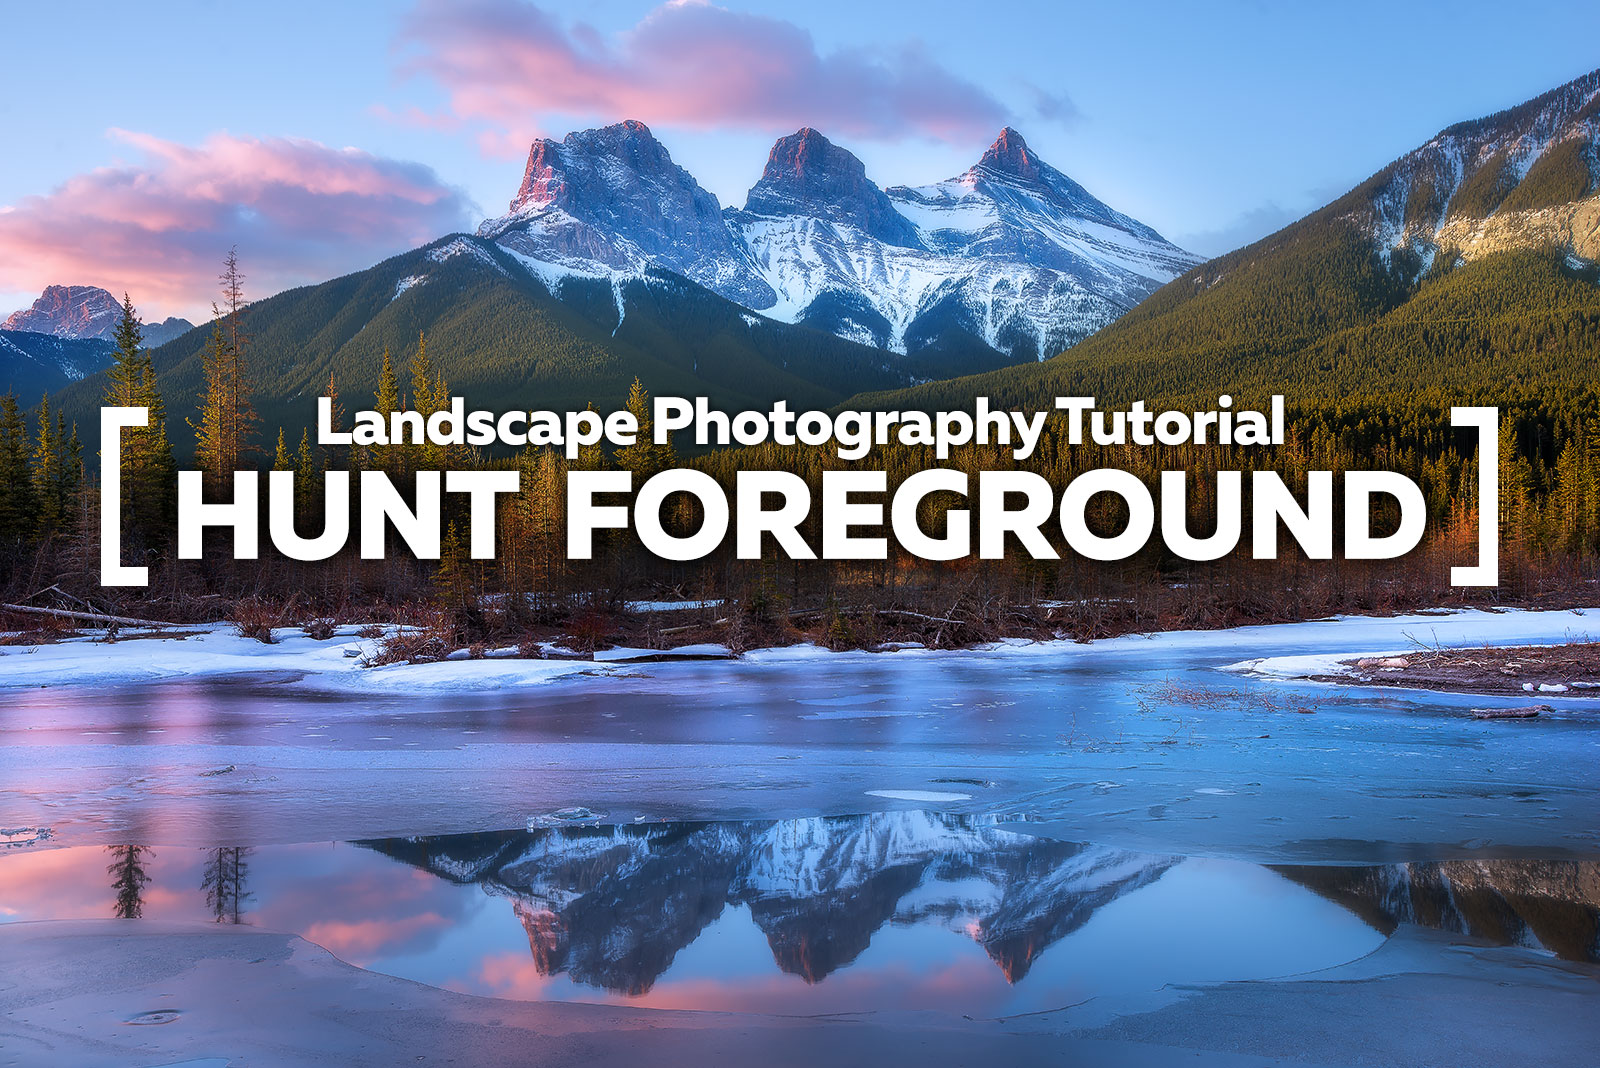
Landscape Photography Tutorial – Hunt Foreground

With this landscape photography tutorial I’m going to discuss a really obvious tip that can instantly improve your landscape photography in a huge way.
Hunt Foreground!
Sounds really simple right? Well it is a simple concept, but there’s a great deal of complexity in what you choose to use in the foreground of your image. Do you want leading lines, framing shapes, broken reflections, S curves, L curves, X shapes?
It all depends on what you have available at the scene. By consciously seeking out a fascinating foreground, you’re willing to make the effort to capture a well thought out composition instead of a mindless point and shoot shot.
You Can’t Move the Mountain
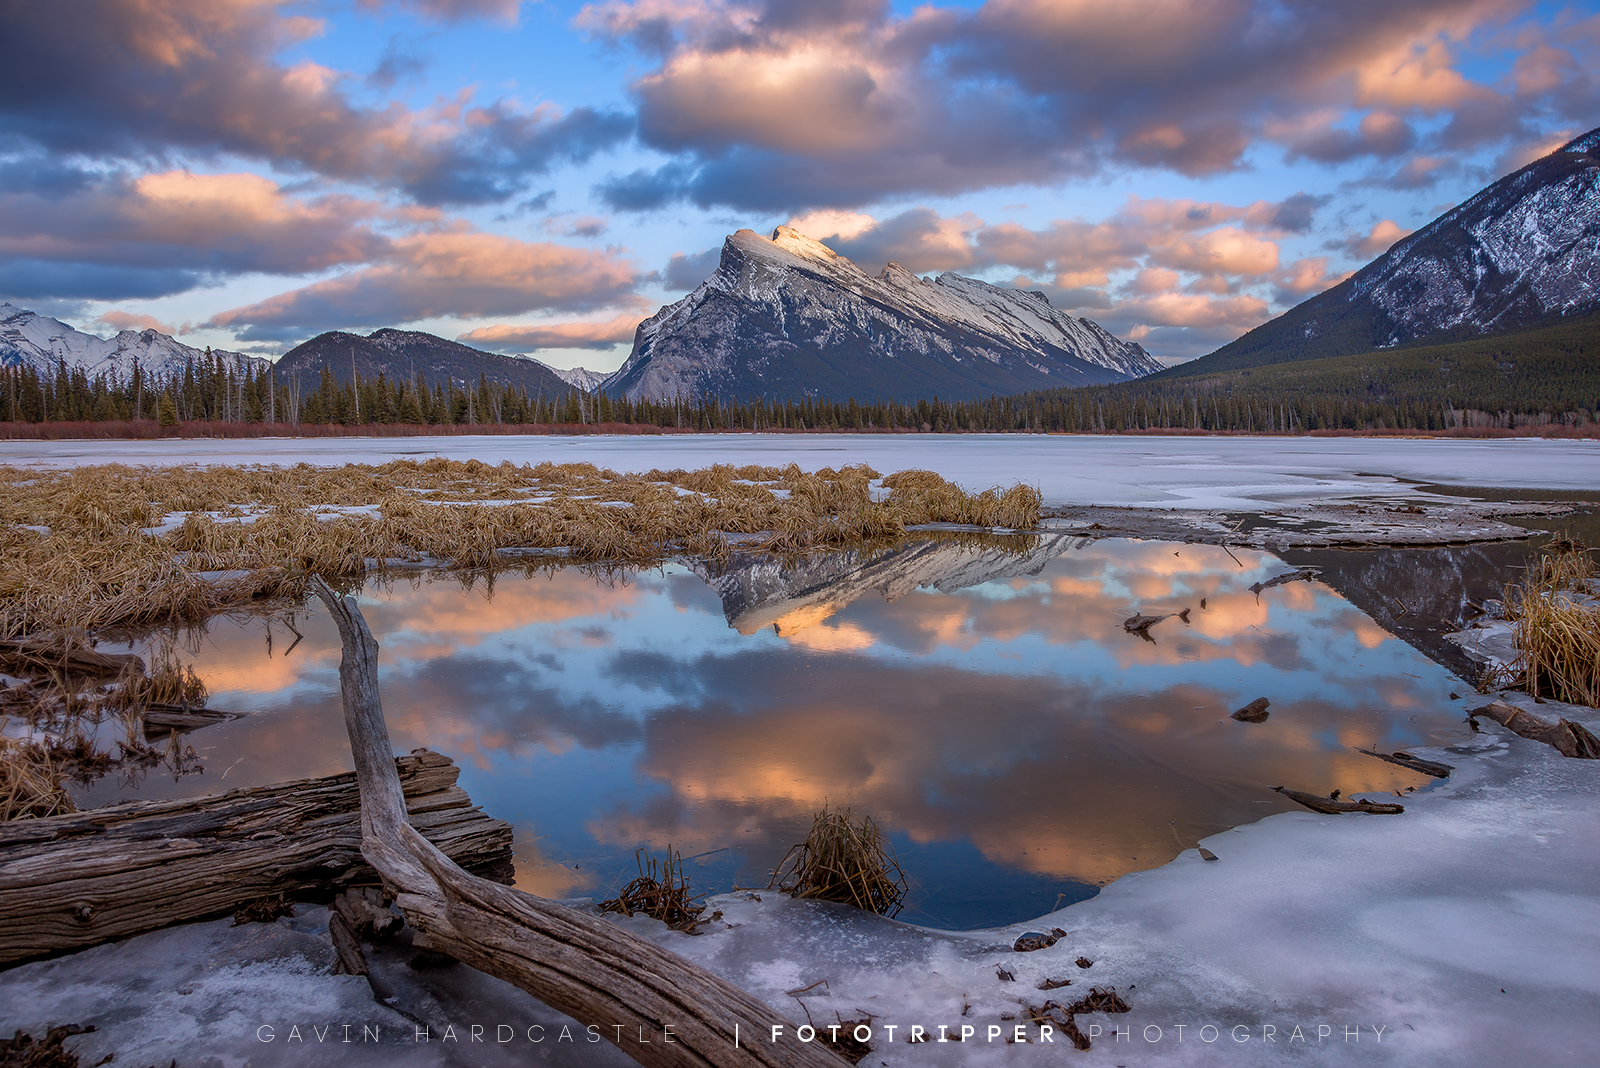
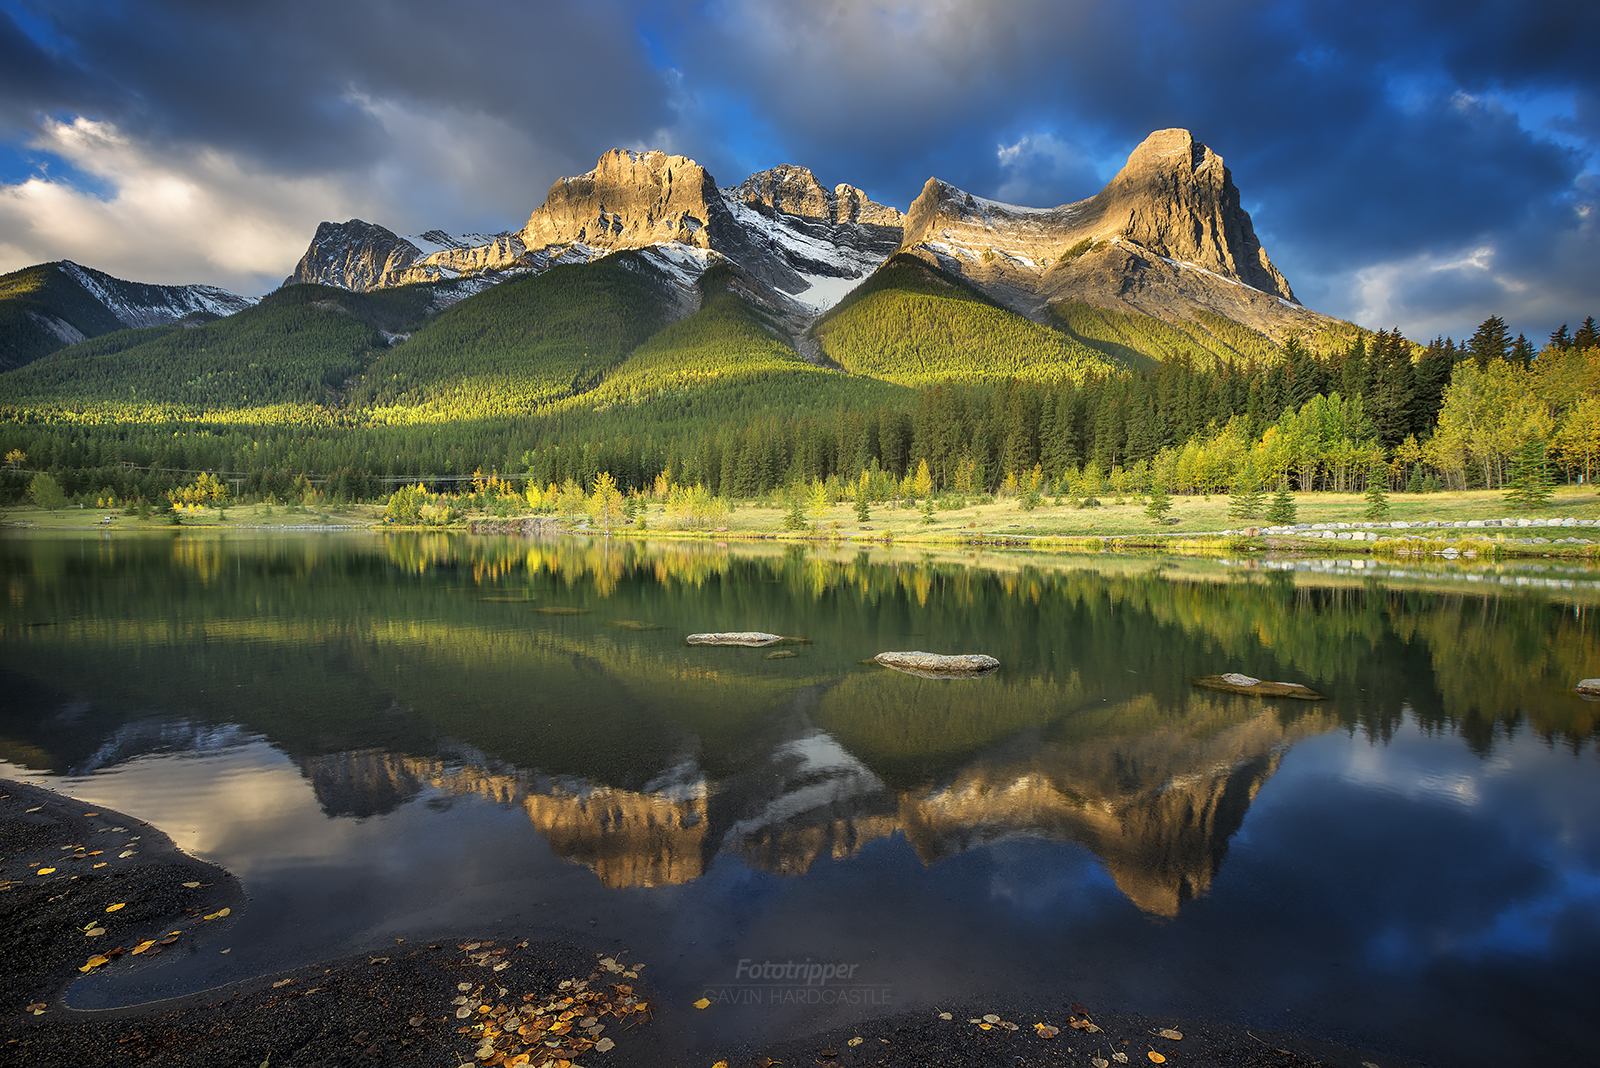
Those mountains aren’t moving any time soon but you control where you are and what you put in front of that mountain.
Here’s a my stripped down thought process when I arrive at an epic location. I ask myself these three questions:
1 – What’s My Main Subject?
Let’s say it’s the utterly epic mountain range directly ahead of me. That’s nice and easy because the mountain range has kindly provided me with a stunning subject that isn’t going to move so I can now forget about that and move on to question two.
2 – How Can I Make this More Interesting?
Don’t just settle for the very first wet rock or rotten tree stump that you stumble across. Get to work. If you want your photography to stand out from the crowd you’ve got to be willing to put in a little effort. Also, your own curiosity should be driving you on to discover what’s around the corner or over that little hump to the right.
Part of being a photographer is about being an explorer. I’m not saying you should start planning your ascent of Everest, but I am saying that if you push yourself mentally and physically in small degrees the rewards can pay off big time. What have got to loose (assuming it’s safe) by strolling around for an hour hunting out the ideal foreground for your shot?
How do you know you got the best shot possible if you settled for the first shot you found?
The difference between a good shot and an award winning shot might be just 20 ft.
3 – Where is the Light Coming From?
All outdoor photographers should have an intimate knowledge of where the light is coming from. If you are totally new to outdoor photography, the first thing you can do to help yourself is to figure out North, South, East and West while at your location. This is especially important if you also shoot astrophotography.
The sun rises in the East and sets in the West, so as long as you know which direction you’re facing, you can figure out where that lovely golden hour ‘side light’ will be coming from. Assuming of course that ‘side light’ is what you are after.
If you can’t figure this out in advance, all is not lost. It’ll become pretty obvious when ‘Golden Hour’ happens.
With clouds, anything can happen, they don’t always light up where you expect them to, but knowing where the sun is setting gives you some clue as to where you can expect the first blush of colour to show up in the clouds.
Balancing Out Your Foreground
As I mentioned earlier, you’re limited by what you find at the scene, but don’t underestimate the impact of lens distortion and proximity magnification.
With wide angle lenses you can add a lot of ‘impact’ to your foreground by getting close and getting low to the ground. Just be careful to balance out the ‘real estate’ in your frame. What I mean by that is how you balance the importance of the subjects in your image.
If the main subject of your image is the mountain range ahead of you (refer to question 1), don’t let it get overwhelmed by your foreground. If you get close and low enough to your foreground you’ll end up devoting 80% of your frame to some gnarly tree roots while your epic mountain range looks like a tiny sand dune in the distance. So use some restraint.
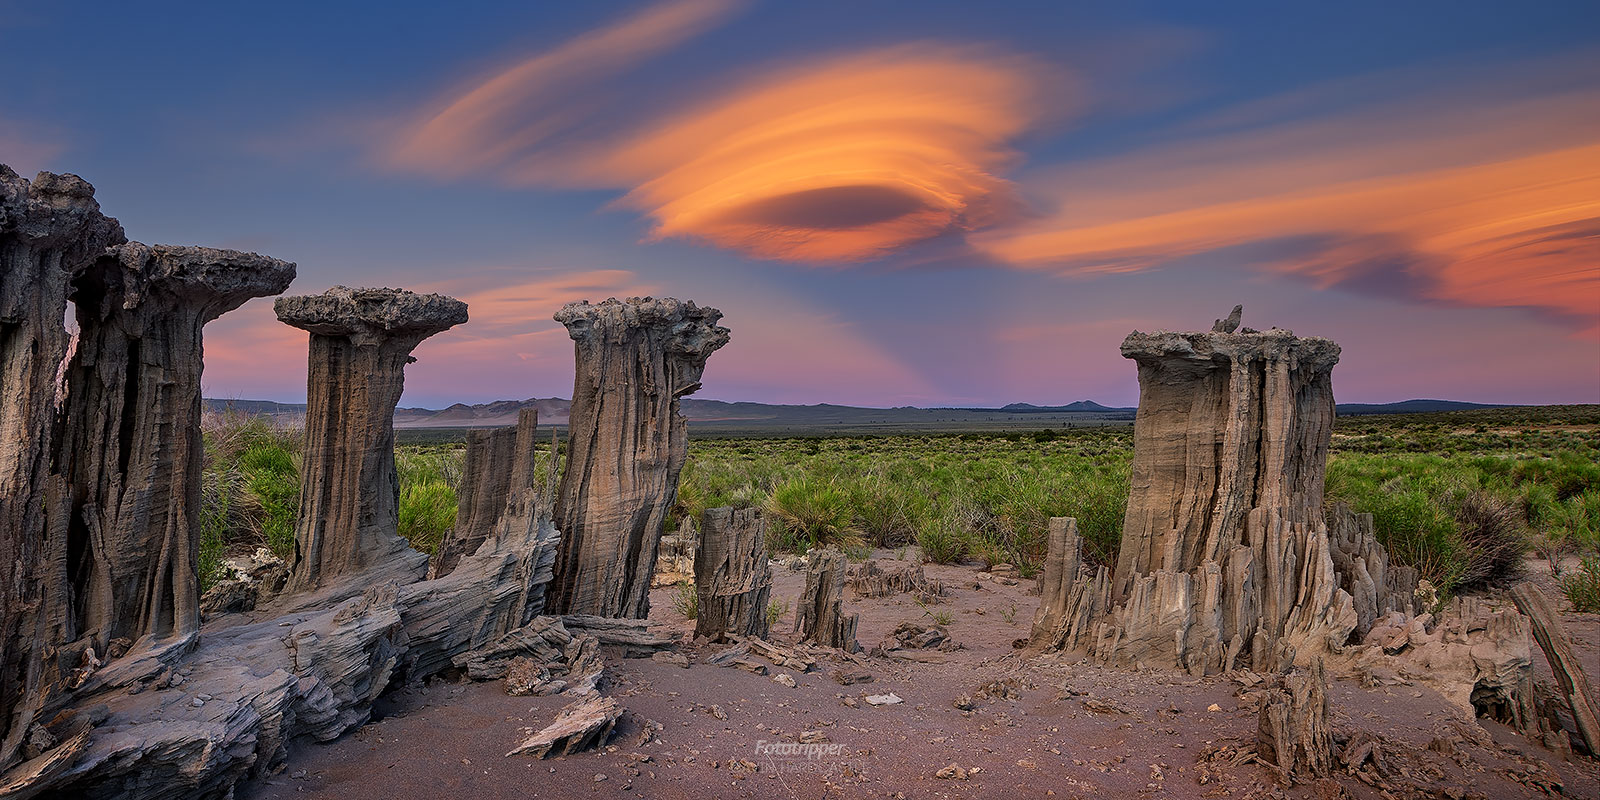
With my shot of Mono Lake above, you can see that I’ve devoted about 60% of my frame to the foreground because not only are those tufa mounds fascinating, but the lenticular clouds have such overwhelming colour that I used more foreground to counter balance that impressive sky. The result gives us a more evenly weighted composition.
Set Yourself a Challenge
Either today or tomorrow, why not go out and test your ability to find interesting foreground in your landscapes. By using the three questions listed above, first find your main subject, then pick an interesting foreground, figure out the direction of light and finally, experiment with different focal lengths and positions to determine the ideal balance of subjects in your image.
Like all worthwhile pursuits, it takes practice to get good at this. Don’t give up until you know you’ve got a killer shot in the bag. At the very least you’ll be getting some fresh air and at best you’ll snag yourself a killer shot that people will love to see.
If you found this tutorial helpful please leave a comment and share this page on your social media. If you’d like to learn more from me in person please check out my photography workshops or consider booking a private photography class.

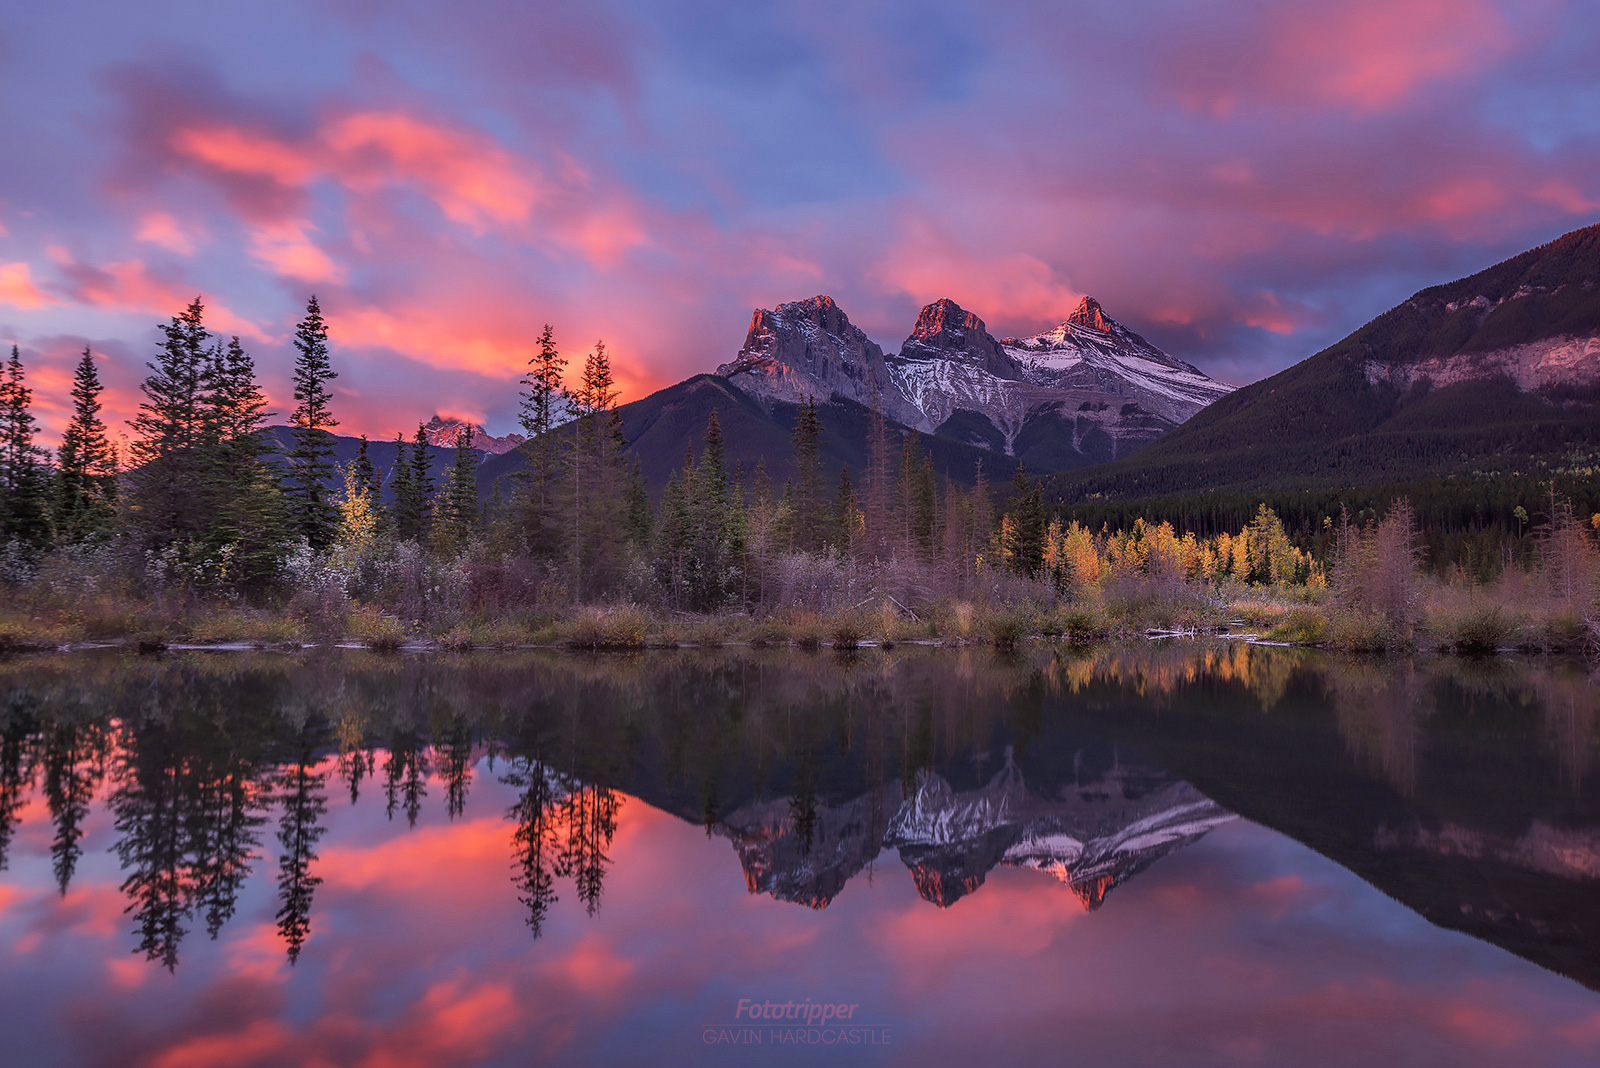
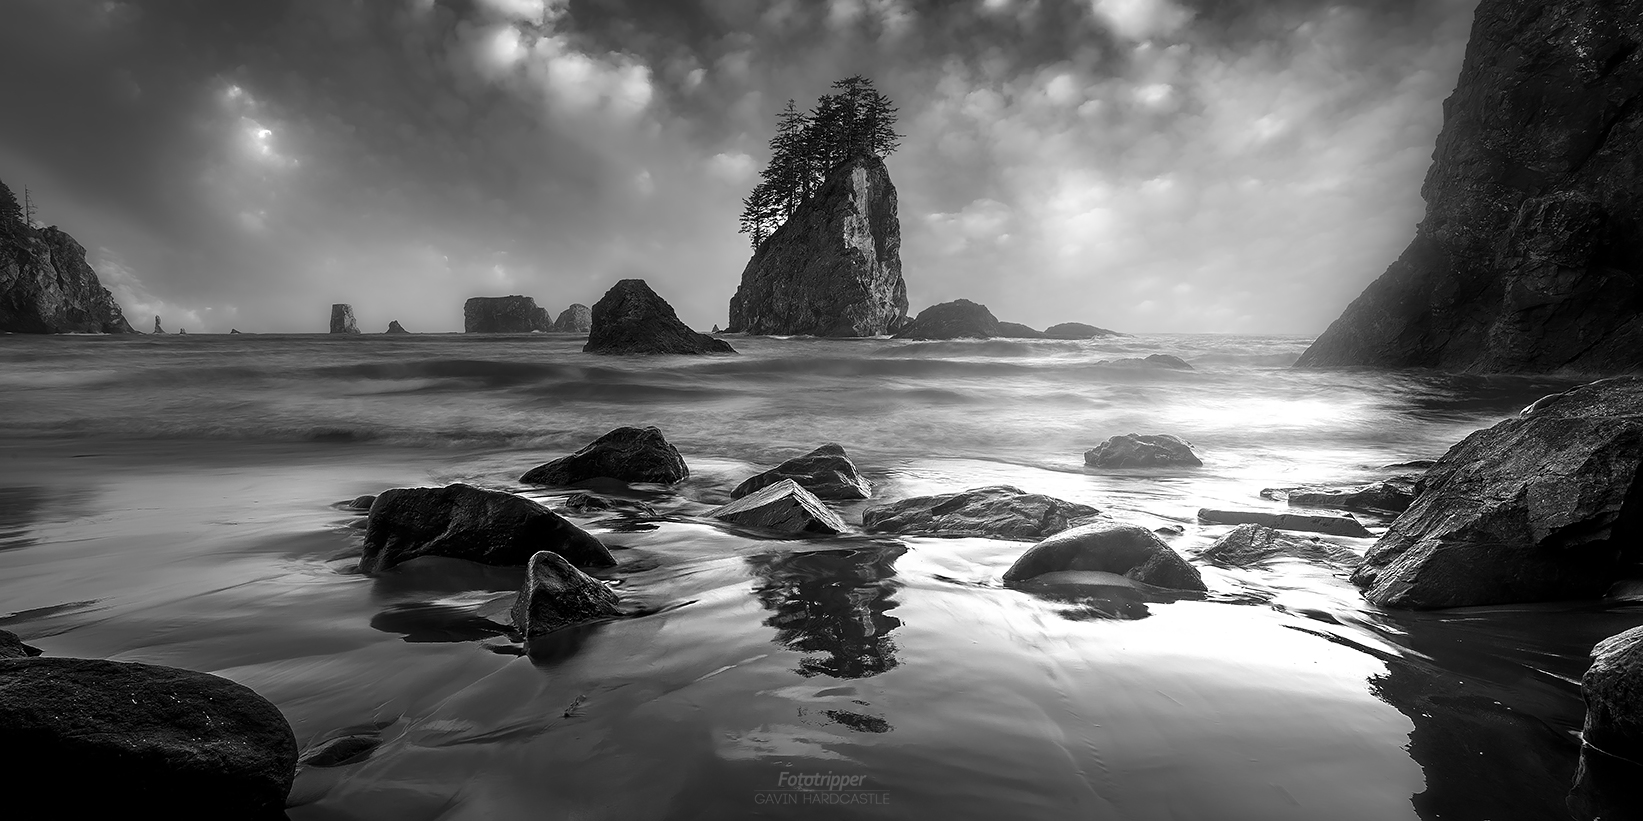
Thanks for the tips, Gavin!! 🙂
Very inspiring. I feel like getting a lot of fresh air and get a killer shot
Nice tips for landscape photograph I.
Thanks for the tips Gavin.i already have a place in mind for a sunset shot around horseshoe bay this weekend and these tips will greatly help my plan.