Beginners Guide to Aperture in Digital Photography

Want to get creative with your photography? It’s time to learn about aperture. What is aperture and how does it work? Let’ me take you through the basics.
If you’ve ever watched a Hollywood film, you’re already very familiar with ‘shallow depth of field’ in photography.
If you’ve ever stood in front of a huge landscape print and marveled at the corner to corner sharpness, you’ve also witnessed ‘wide depth of field’ which has the opposite effect.
These eye popping photographic effects are created by specific aperture settings with lenses that are designed for the job. If you’ve got a DSLR or a decent mirrorless camera, you’ve got the same powerful control at your fingertips.
How Does it Look?
Here’s the same shot with two completely different aperture settings. Can you spot the difference?

See how the image on the left has lots of blur on everything but the keys? That effect is known as ‘bokeh’. The image on the right has a narrower aperture which results in hardly any bokeh at this distance. Most of the image is now in focus with minimal blur. There’s still a tiny amount of bokeh because I’m so close to the keys.
Top Tip: The closer you get to your subject, the more pronounced the bokeh effect.
[/box]
What Does Aperture Mean? What’s an f/ stop?
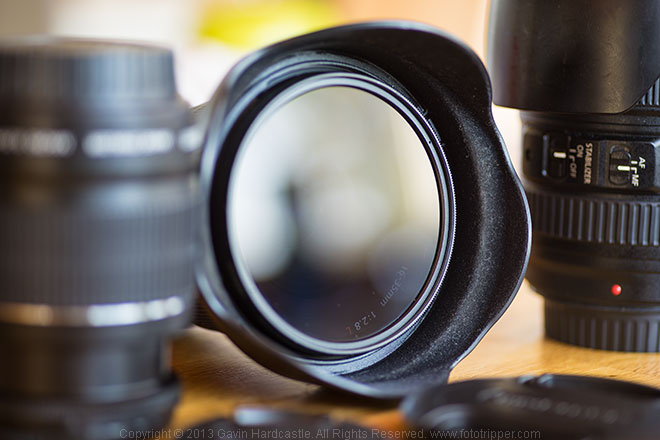
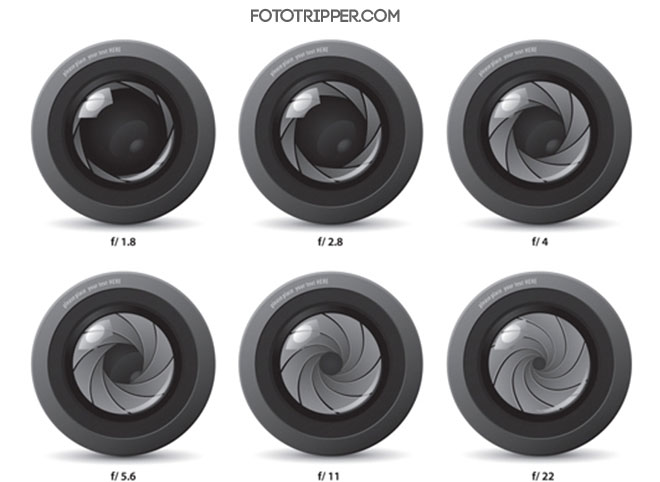
The word ‘aperture’ means ‘opening’ or ‘hole’. The term ‘ f /stop’ is the lingo that photographers use to define a specific aperture, lets say f/ 1.4 or f /22. In your camera display this is usually just shown as a number and you’ll see it change as you adjust your aperture dial.
Don’t worry too much about the science and engineering of why a bigger aperture means a smaller number. What’s important is that you understand the difference and how you choose to use your aperture settings creatively.

When would I use these different settings?
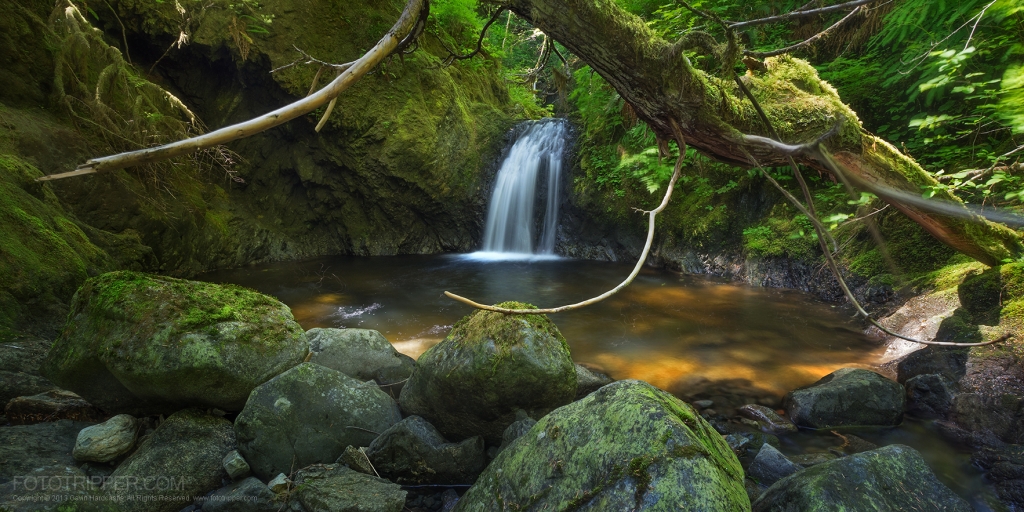
For landscapes I typically want my images to have a wide depth of field with zero bokeh, so I’ll select a fairly central aperture like f/11 or f/16. The reason my image still looks ‘artistic’ is because of the beautiful lighting conditions that I work hard to capture.
For documentary, wildlife, portraiture, macro and food photography, the trend is mostly wider apertures with very shallow depth of field like f/1.8 for maximum bokeh. This mimics what we see with the naked eye, so we tend to be instantly drawn to the artistic look that wide apertures deliver.
Ultimately, it’s a creative decision that depends on your vision for a specific shot. Having a few different lenses to choose from gives you huge scope for realizing that vision beautifully.
Let’s Give it a Try
You’ll need a decent DSLR or mirrorless camera for this to work. Take these steps first.
- Switch to M (Manual) Mode and try this out.
- Set your ISO to 100.
- Know where your aperture dial lives
- Know where your exposure (shutter speed) dial lives
- Switch to Live View so that you can see the image on the LCD
- Use a tripod if you’re doing this in low light, handheld is OK in sunlight
If you don’t know where these dials live, consult your camera manual.
1 – Select Your Widest Aperture (Smallest f/ stop Number)
With your aperture dial, crank it all the way to one side to specify the smallest aperture number possible. By doing this, we’re actually choosing a very wide aperture which lets a lot of light into our camera. It also creates the optical effect of ‘shallow depth of field’. This could be f /1.4 to f /.5.6 depending on your lens.
You probably noticed that your LCD display just got a LOT brighter as a result of all that light we just invited in to say hello to our sensor.
2 – Select the Correct Exposure Time (Shutter Speed)
Now adjust your exposure dial so that the shutter speed is much faster. This should result in your LCD display becoming dimmer because your camera is now adjusting itself to tell you that you’re getting closer to the optimum shutter speed for this aperture. You’ll know you’ve achieved the ideal shutter speed setting when your exposure value meter becomes centered. Almost all camera ‘light meters’ look the same.
3 – Focus Manually on Your Subject
Pick an obvious subject in your foreground and focus on that. Use manual focus by switching off auto focus on your lens or camera. Turn that focus ring until your subject looks as sharp as possible.
4 – Take the shot. You just took a picture with shallow depth of field.
5 – Select Your Narrowest Aperture (Highest f/ stop Number)
Now lets reverse everything we just did by winding our aperture dial back in the opposite direction so that it reaches the highest possible number. Let’s say f/ 22.
This is now reducing our aperture to it’s smallest diameter. You’ll notice that once again, the LCD is now getting darker because we just reduced the amount of light entering into our camera.
6 – Select the Correct Exposure Time (Shutter Speed)
To fix the problem of our weak amount of light we’ll need to increase our shutter speed by pushing the exposure dial in the opposite direction so that we end up exposing our sensor for a longer time. Your light meter reading will become centered again once you’ve reached the ideal shutter speed. You’ll most likely need a tripod for this shot unless you are in very bright sunlight.
7 – Take the shot. You just took a picture with really wide depth of field.
So there you are. You’ve now got two versions of the same shot but with drastically different depth of field. The difference should be pretty obvious.
I hope you found this beginners guide to aperture in digital photography useful and easy to understand. If you’ve got any questions or suggestions please leave a comment below.


this lesson is very useful for me ,if we shoot the landscape we mostly chosen the f:11 ,f:12 is better
It depends on your lens Saju but yes, it’s a fairly safe aperture for maximum depth of field and sharpness if you’re not too close to your foreground. If you were let’s say 3ft from some foreground rocks it might be best to choose f/ 16 or f/ 22.
are always entranced by your pictures, in spite of the shots I made ​​in the year-long photographic experience of my 82 years! Of course, the landscapes of Colorado and Oregon, you’ve photographed, they make me dream.
Best regards.
Ermano.
Italy.
Thanks Ermano.