How to Shoot Star Trails Tutorial

Photographing stunning star trails might be easier than you think. Once you understand the basic techniques and put your camera in the right position, the rest should fall into place. Here’s my rough and ready tutorial on how to shoot star trails.
Understanding What causes the Star Trail
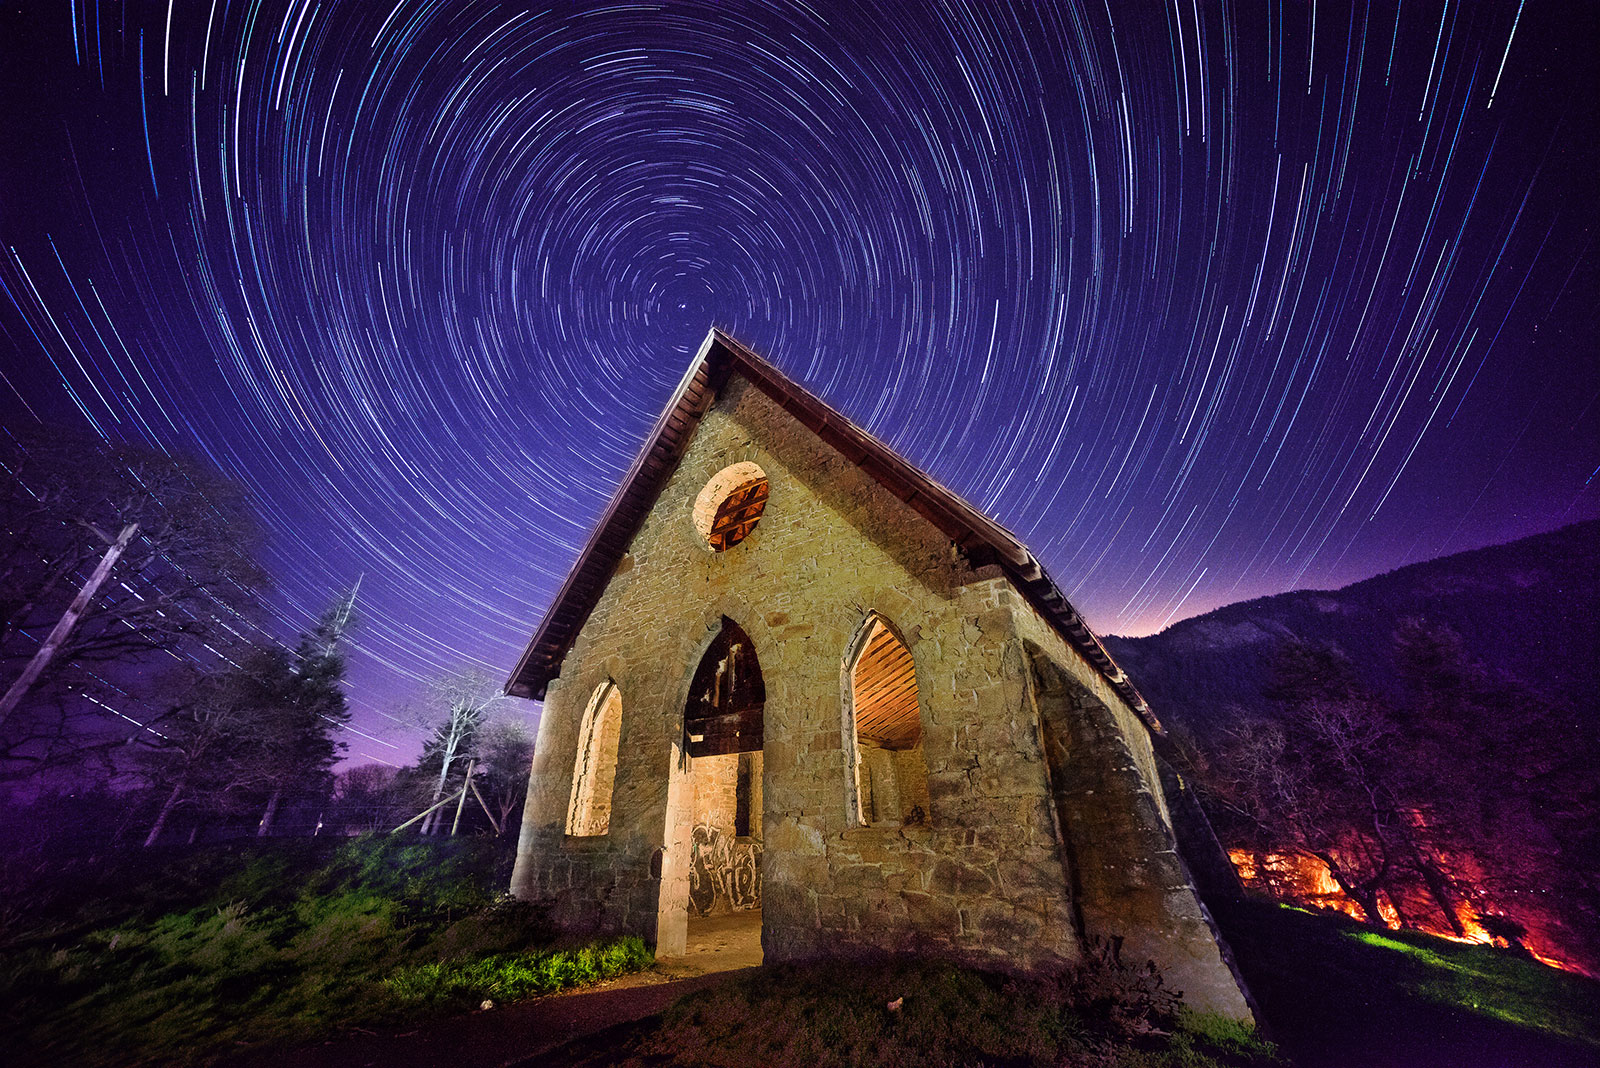
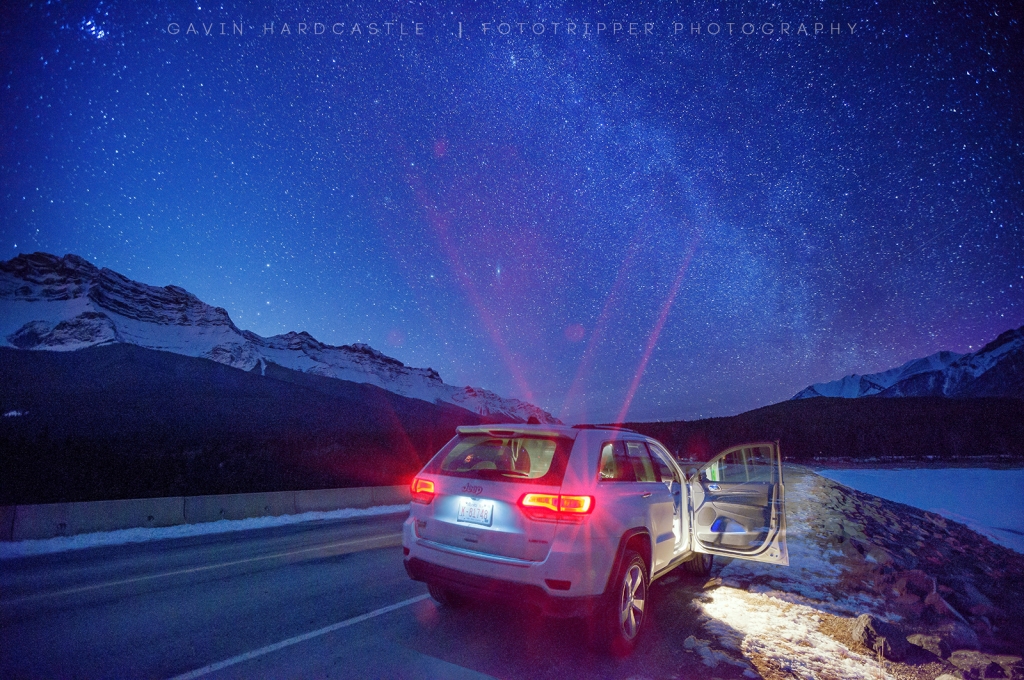
When you look at the image above you can see the trail left behind each star. This is caused by motion blur when shooting a long exposure during the earths turning. There are two methods for achieving this effect to create long star trails.
Method 1 – Very Long Exposure
By using a remote shutter release and setting your camera to ‘Bulb’ mode you can leave your shutter open for a very long time. The longer it stays open, the longer your star trail because those stars and the earth are constantly in motion. An exposure time of 3 hours while pointing your camera North should result in a very solid elliptical star trail as the stars move and leave behind a motion blur in your ultra long exposure.
Upside: Very Easy, less image processing time, only one image file to deal with
Downside: More chance of failure caused by lens fogging in cold temperatures, excessive noise from overheating and lack of control over transient atmospheric elements such as planes, cars and pedestrian light sources.
Tech Needed: A remote shutter release
Method 2 – Shorter Exposures Stacked in Photoshop
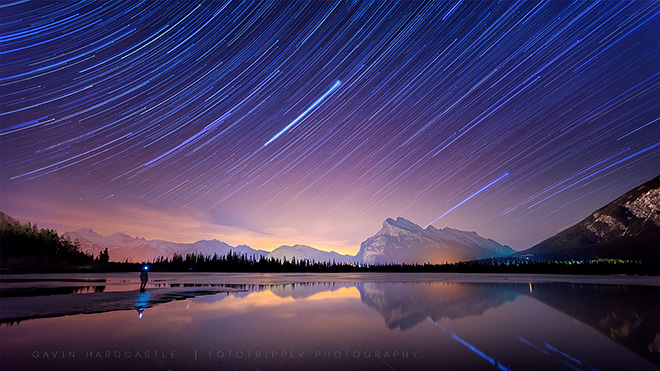
You can achieve the same effect by shooting multiple exposures one after another by using a shutter speed of 30 to 40 seconds for each shot. You can layer (or stack) these images together in Photoshop to create the star trails simply by setting the layer blend mode on all layers to ‘Lighten’.
Upside: Total control over each exposure. If the lens fogs up, your previous exposures are not effected.
Downside: Takes longer to setup and process the final images.
Tech Needed: Intervalometer/Timelapse app on your camera.
I much prefer Method 2 because It gives me so much more control. Lets say a car drives up behind the camera and bathes my foreground in too much light, I can edit that out of that exposure in post.
Lens fogging is also a big issue when shooting in cold conditions. The camera gets warm due to working so hard. When that heat transfers to the glass, you’ll get a fogged lens and a ruined picture. By using Method 2, It means that every exposure taken before the lens fogged up is OK and I can still salvage my shot.
To use Method 2 you’ll need either a hardware intervalometer or have one built into your camera. Many DLSR and mirrorless cameras have this function or a built in app which is typically used for timelapse photography.
Set the intervalometer or timelapse app to shoot a 30 second exposure every 30 seconds so that it effectively never stops shooting. That means that as soon as the shutter closes and finishes the first 30 second exposure, it should immediately trigger another 30 second exposure. This closely mimics Method 1 by creating a constant star trail.
If you mess this up and take a 30 second exposure, then wait 30 seconds before taking another exposure, you’ll end up with a regulated gap in your star trail – which might actually look pretty cool.
For instructions on how to perform this ‘stacking’ trick in Photoshop, Scroll to the bottom of the page.
Tripods are Mandatory
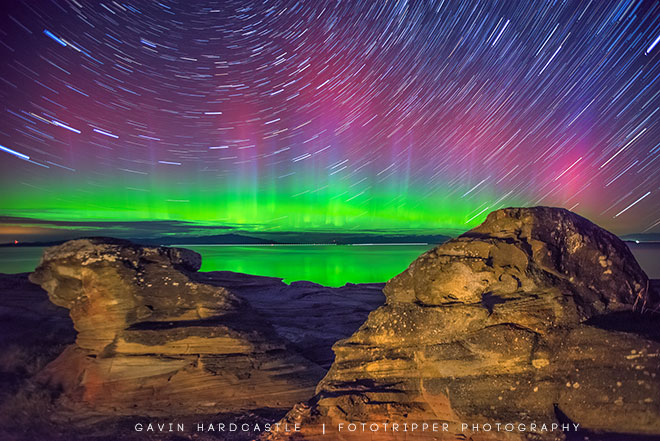
As with any long exposure, you’ll need a sturdy tripod that will not move while shooting. Whether you use Method 1 or Method 2, don’t be tempted to touch your camera or tripod while it’s shooting. Leave it to perform it’s magic and be patient.
Beware the Failing Battery
If you’re just about to launch into a 2 hour exposure, be sure that your battery has enough juice to go the distance.
How Long Should I shoot for?
That depends on how long you want your trails to be. If you’re shooting with Method 1 you’ll need to figure this out before you start shooting. There’s some guess work involved but here’s a simple trick you can use.
Take a a couple of test shots about 2 minutes apart. When you view those images back you’ll get an idea for the speed and direction the stars are taking.
When you begin your actual shot, make a mental note of where the brightest stars began and then keep looking through your viewfinder while shooting to see where those brightest stars end up. When you feel like they’ve reached the part of the frame where you’d like them to end, hit the bulb shutter release to close the shutter and end your shot. It’s pure guesswork but it makes it more fun.
If you shoot with Method 2 you can always shoot for longer than you need and then just discard the images you don’t want when you layer the images in Photoshop.
Using less images results in a shorter star trail just as shooting with Method 1 for a shorter period results in a shorter trail.
Where Should I focus?
If you want your stars to be in focus, it’s best to focus your lens on the stars themselves. Use your cameras Live View display and then punch in as far as possible. As you focus on the brightest star in your scene it should appear smaller and sharper in your screen or EVF.
Don’t trust the ‘infinity’ setting on your lens as this actually focuses beyond the stars.
What f/stop should I use?
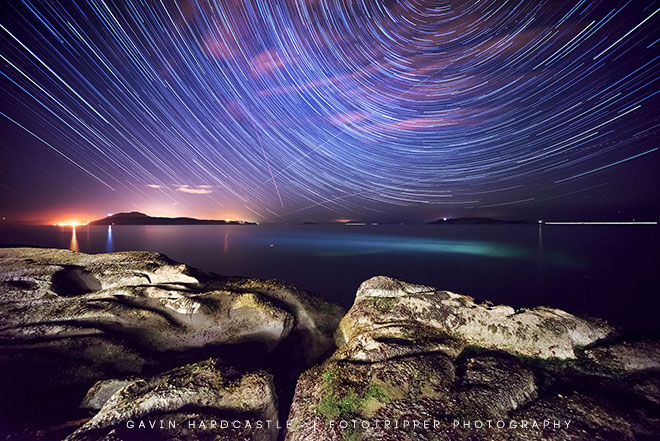
If you use your widest aperture (smallest number like f/1.4), you’ll capture the most light possible. This is great for getting super bright stars which are tightly focused but it’s terrible for keeping foreground elements sharp, especially if they are close to you.
You can solve this problem by stopping down and choosing a narrower aperture (bigger number like f/8) but this will result in less light entering the camera. You can counteract this by either increasing your ISO which will result in more noise.
Sometimes it’s best to add soft light to your foreground with the use of a hand torch or headlamp and keep your ISO as low as you can get away with.
Either way, it’s a balancing act that will be different for every scene you try to shoot.
Consider shooting a separate exposure for your foreground that perhaps uses a different aperture and ISO setting to the ones you used for the stars. You can easily blend these in Photoshop to get everything balanced nicely to keep things as sharp as possible.
What ISO Setting Should I use?
The lowest you can get away with! High ISO settings result in lots of noise which ruins your image quality. That being said, there’s no way your camera will capture anything at ISO 100 when it’s totally dark.
Depending on the speed of your lens, If you’re shooting on a very clear night with a manageable amount of light pollution, you might get away with ISO 2000 on a 30″ exposure.
If you’re in a ‘dark sky’ area with zero light pollution, you’ll most likely need a higher ISO like 3200 with a lens capable of f/2.8. If you have a faster lens you’ll be able to achieve lower ISO settings.
You’ll just have to play around with different ISO numbers and apertures until you’ve found a happy medium between image quality and brightness.
Which Direction Should I face?
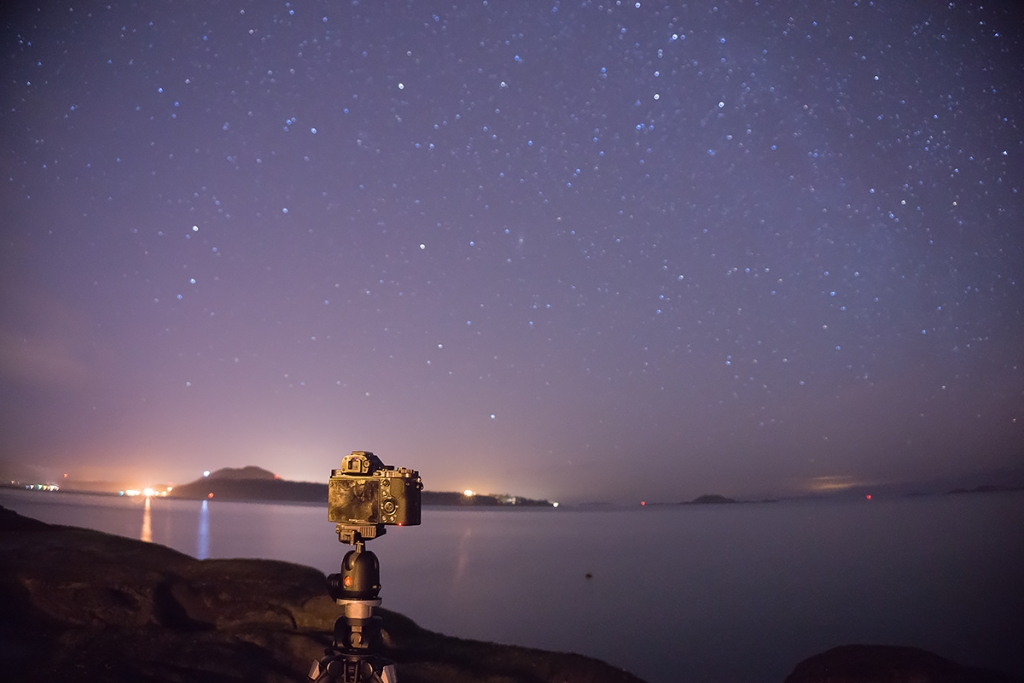
This depends not just on your star trails but also the position of your foreground elements. I find that star trail images are much more interesting when there’s a cool foreground or land element in the frame.
Having said that, it’s important to note that if you point your camera to face South West, you’ll get way less star movement than if you point North. If you’re after that huge vortex effect you’ll want to point your camera North, or North East/West and angle your camera up so that about 70% of the frame is filled with sky.
To get a clear idea of the direction and motion of the earth and stars, read this great article
Common Myths of Star Trail Photography
1 – What about Light Pollution?
The first rule of star photography that most tutorials will tell you is that you need to be in a dark sky area with little or no light pollution. While this is essentially sensible advice it doesn’t take into account that your composition might be made more interesting by urban content and atmospherics?
As long as the light pollution isn’t so aggressive that the stars simply aren’t visible, I say go for wherever you think the most fascinating compositions live. Obviously, Times Square in New York is going to be so light polluted that you’ll be lucky to capture a single star, but distant towns or small villages shouldn’t pose too much of a problem for star trails if you get a clear night.
2 – Do I need a super fast, super wide lens?
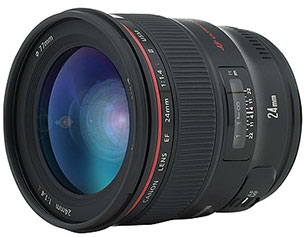
If you want to capture a massively wide scene with lots of stars then of course a super wide angle lens will fit a lot in your frame, but that might not always give you the most artistic composition.
If you’ve got a large foreground element that is very close to the camera, you’ll have to use a very wide lens, but if your foreground isn’t super close, you can get away with a longer lens and a much narrower field of vision.
As I mentioned earlier, faster lenses set to their widest aperture will result in shallow depth of field and that’s not good news for your immediate foreground if your lens is focused on the stars.
Try stopping down to f/8 or possibly even f/11 to get more of your immediate foreground in focus. If your scene and stars are bright enough, you’ll be amazed at how far you can push this before things get too dark. A 30″ to 40″ exposure is a great place to start.
How to Stack Multiple Exposures in Photoshop for Method 2
This is so easy it’s outrageous.
Step 1 – Using Adobe Bridge, simply select all of the images that you took during your timelapse by clicking on the first image, holding down shift and then clicking on the last image.
You could also just hit ctrl+A to select all if there are no other files in your image folder.
Step 2 – In Adobe Bridge click on Tools > Photoshop > Load Files into Photoshop Layers. Go make some coffee while this loads up, it’ll take a while.
NOTE: If you’re using a high rez camera and have over 150 images to stack, I advise you convert them to smaller JPGs first because your computer will most likely collapse if you try to layer 400 images that are 36MB each.
Step 3 – Once loaded into Photoshop, go to your Layers Panel and select ALL of your layers. Once selected, go to your Layer Blend Mode (Default is ‘Normal’) and set them all to ‘Lighten’. You will now see your majestic star trails.
Summary
With this tutorial and a bit of ‘trial and error’, you should be able to shoot beautiful star trails when the weather conditions are right. If you have any questions please post a comment below. If you’d like to come and shoot star trails with me, why not join my Banff Photography Workshops.
Thanks for reading.


Gavin, excellent presentation, I took my notes and hopefully I will go out east of the city here and shoot lesson #1. The skies here in the desert are beautiful without much pollution. I shot a rock formation the other day on the indian reservation out west and hopefully after shooting the stars I can insert the formation as my foreground. John and I are heading for Page, Az.( slotted canyons, Horseshoe Bend), then Monument Vally, then the Grand Canyon, leaving early Monday the 13th of April back Friday night. It should be a trip with John….bill have a super week
I’m Jealous Bill. Look forward to seeing the results.