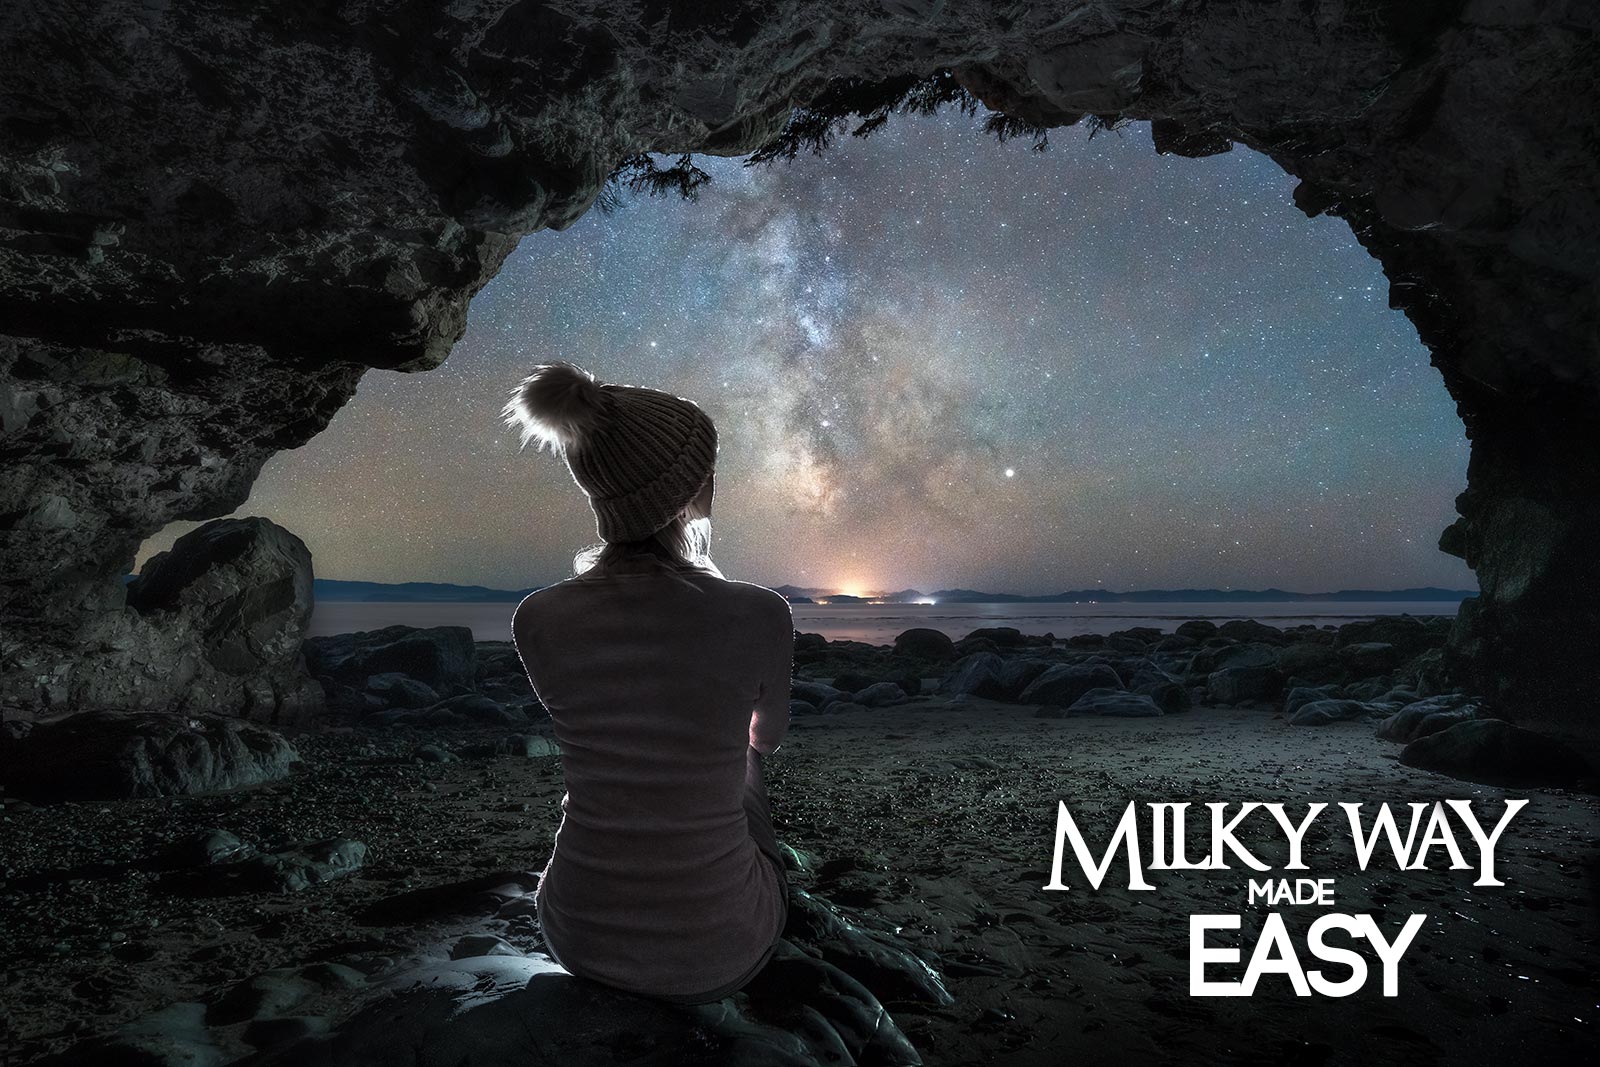
Milky Way Made Easy – FALLING OUT SALE

Have you ever felt that your Milky Way images don’t quite have that WOW factor?
Do you often wonder where to even start with your astrophotography?
Relax and allow Gavin Hardcastle and Michael Shainblum to guide you through the fun, creative adventure of capturing the Milky Way in all its stellar glory. We created the ultimate online photography course for photographers that want to create awe-inspiring images of the night sky.
‘Milky Way Made Easy’
$275
SALE ENDED
Thank you to all those who supported us by purchasing this course. We both put in a huge amount of effort to create this content and it’s been wonderful to get so much positive feedback and to see the images you’ve created using these techniques. The Falling Out Sale has now ended and as promised, Milky Way Made Easy is no longer available on Fototripper.com
Wherever you are under the stars, keep on chasing that Milky Way and making magical memories as we did.
Gavin & Michael
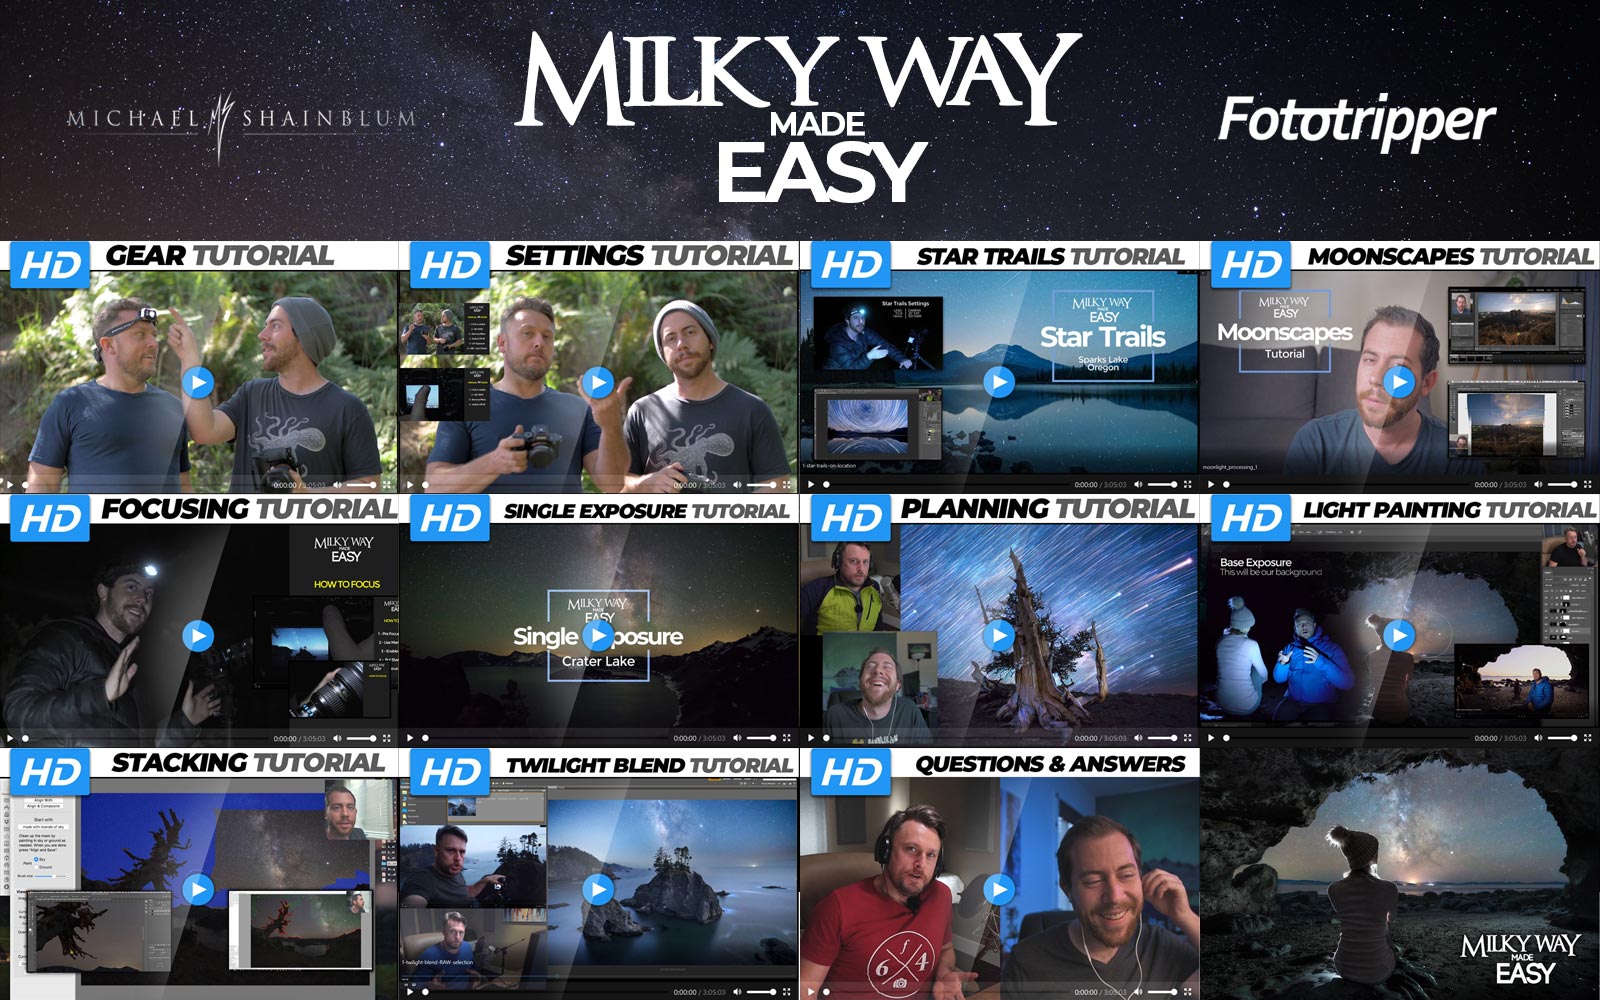
With this extensive online photography course, you’ll feel your confidence grow as we teach you the skills you’ll need to ensure success on your night photography adventures.
From the absolute basics to advanced techniques, we’ll share all of our knowledge with you. We’ll show you how we shoot AND how we process our images. We even include ALL of the RAW files shown in our tutorials so that you can process the images alongside the tutorials and maybe even experiment with your own style.
Here’s What’s Included in This Course
-
10 Gigabytes of Course Content
-
25 HD Videos (1080p)
-
6.35 hrs of Course Content
-
320 RAW Files
This course is a collection of video tutorials with RAW files included. Below you’ll see the topics we’ve covered in our HD video tutorials.
How to Plan a Milky Way Shoot
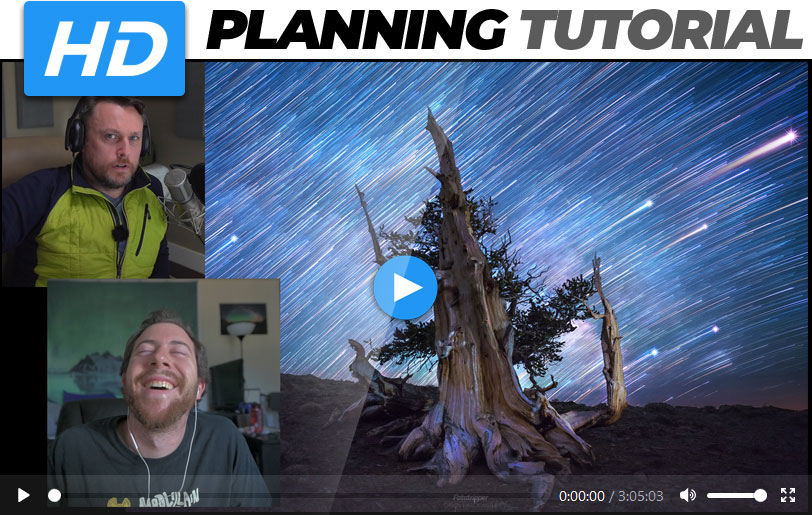
This part of the course features 3 videos. Firstly we discuss the difference between planning and being spontaneous by explaining examples of planned shoots vs unplanned shoots. The other 2 videos show you how we harness the technology of apps like Google Earth, Photopills and others.
Single Exposure Shot at Crater Lake
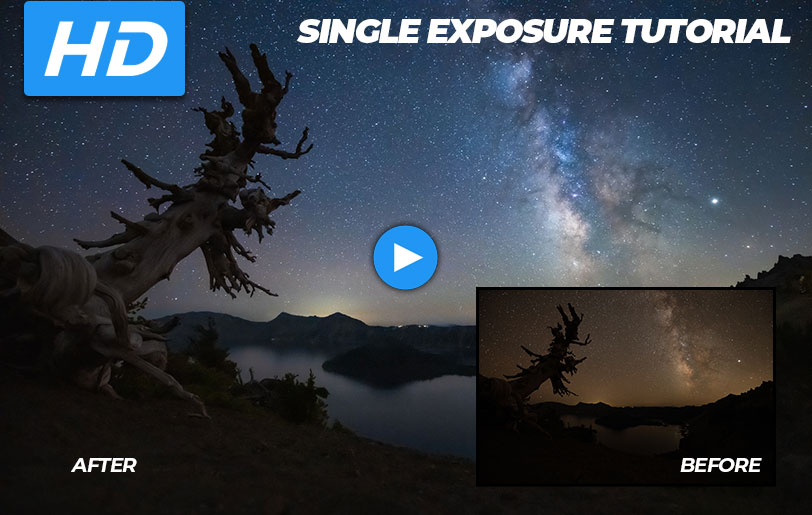
Before tackling the advanced techniques, it’s important that you learn the basics first. With this tutorial, Michael demonstrates how he processed a single exposure image from our Crater Lake shoot. You’ll need either Adobe Lightroom or Adobe Photoshop to follow along with the processing methods he uses.
Gear – What Do You Need?
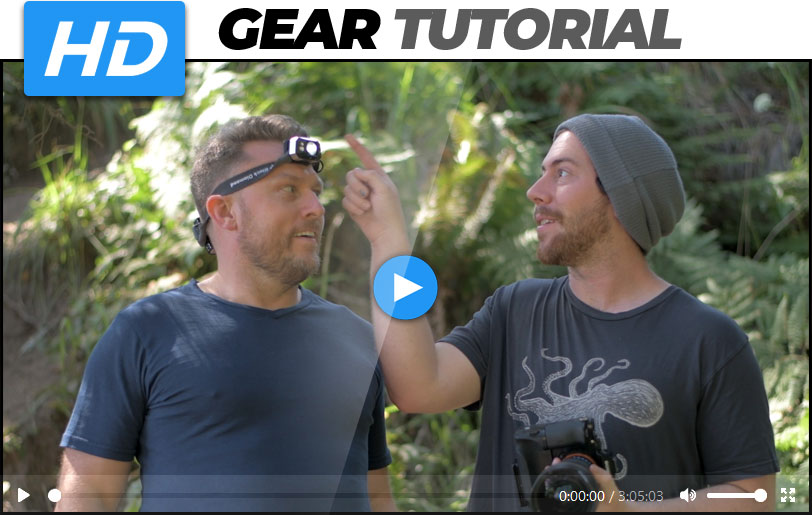
In this video we talk you through the gear you’ll need to capture beautiful images of the night sky. We discuss essential equipment as well as the problems you’re likely to encounter while out shooting at night. Our goal is to set you up for success before you even leave your home.
Camera Settings – Get Them Dialed In
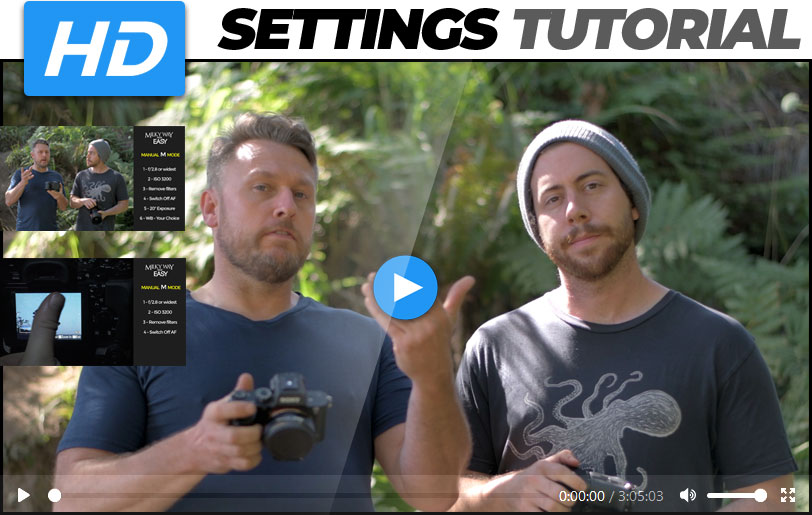
With this video, we’ll dive into all of the essential camera settings that you’ll need to understand how all of this works. Dialing in the right settings and understanding WHY we use those settings is key to capturing spectacular nightscapes with your camera.
How to Focus for Milky Way Photography
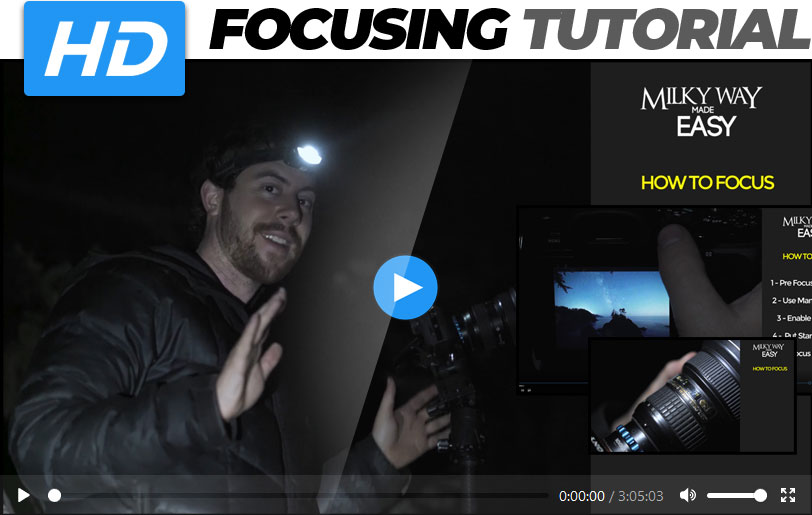
While on location on the Oregon Coast, Michael explains the simple but powerful method of focusing on the stars at night. We list all of the essential built-in features of your digital camera so that you can harness those tools to create amazing night sky images.
Stacking for Noise Reduction at Crater Lake
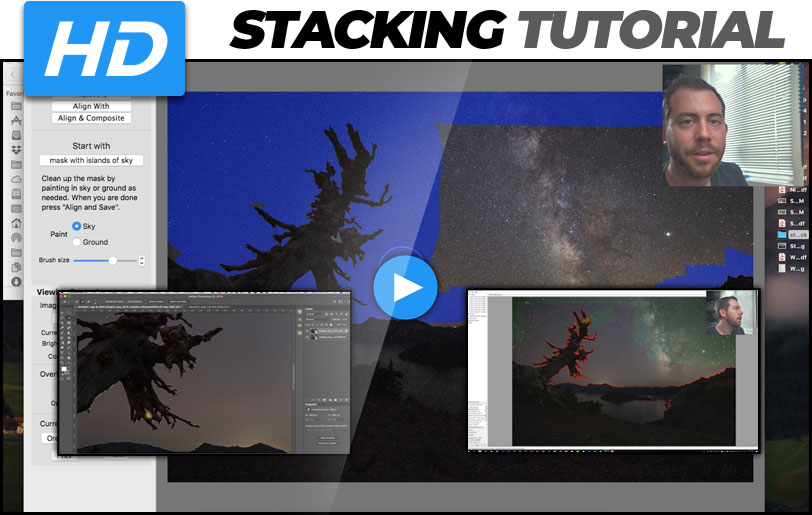
In this video, Michael teaches you some powerful methods for reducing noise in your night sky images. Using three different methods, he shows you how to squeeze every glorious pixel of image quality out of your Milky Way images.
Twilight Blend On the Oregon Coast
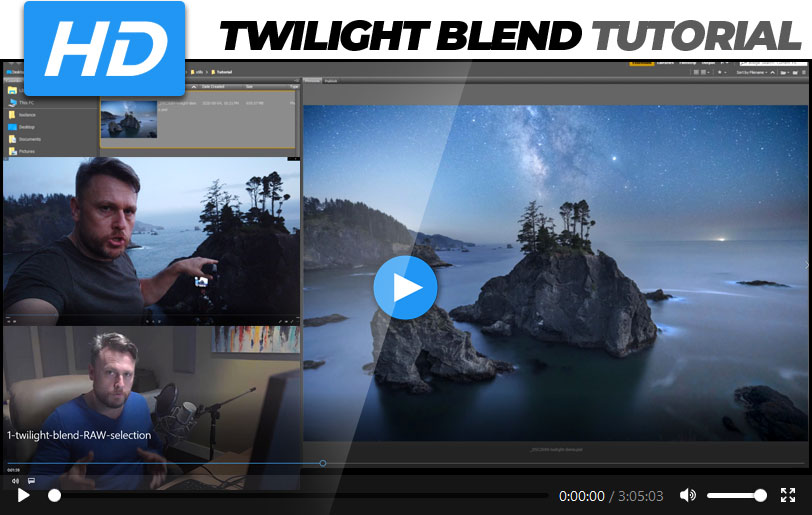
With this video, Gavin teaches you the process of putting together a ‘Twilight Blend’. The goal is to blend a gorgeous clean twilight landscape with a super dark Milky Way image from the same location 2 hours apart. Gavin uses a ‘worst-case’ scenario for this example to show you how to overcome technical challenges like moving tree lines and a moon reflection.
Star Trails at Sparks Lake
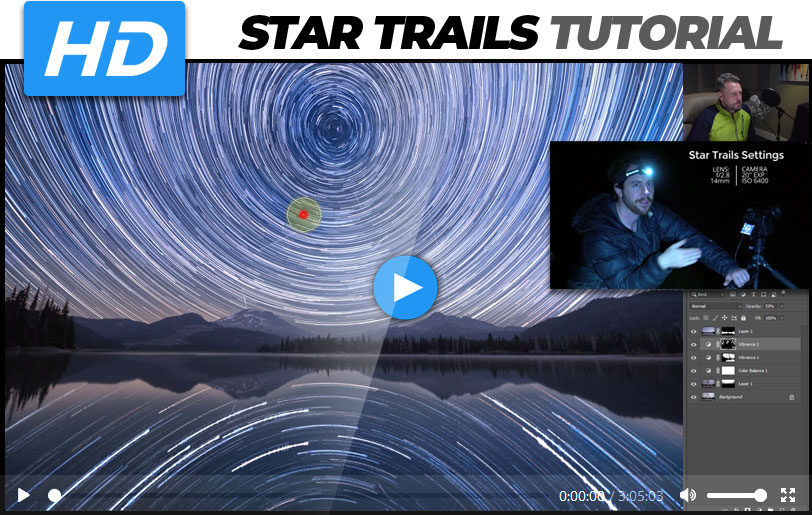
These two videos show a very detailed ‘on location’ tutorial where Michael shoots a time lapse at Sparks Lake. Gavin then demonstrates how he processes a final star trail image from all of the frames Michael captured. We include all of the RAW files from each shoot – even the epic time lapse.
Moonscape Processing at Smith Rock
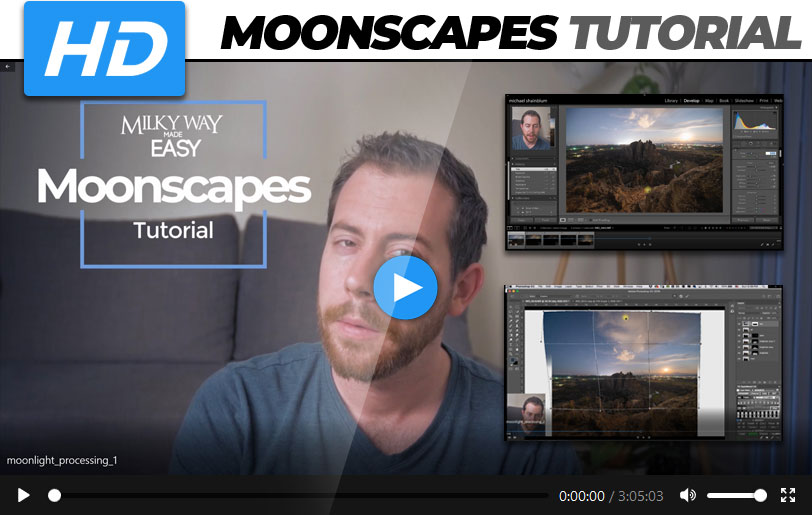
Milky Way shoots don’t always go to plan. In this video, Michael shows you how to process an epic moonscape image from Smith Rock during a spectacular moonset. He starts in Lightroom for the RAW tweaks (You could do the same in ACR) and then finishes the image in Photoshop.
Basic Light Painting at Mystic Beach
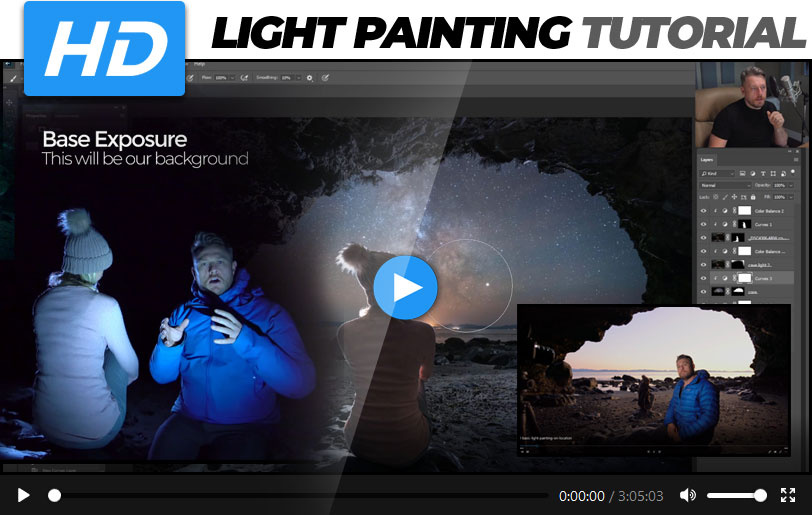
Gavin demonstrates how to use just one headlamp to dramatically light paint a scene under the Milky Way at Mystic Beach. He then shows you the entire process of blending together all of the exposures using powerful masking techniques in Adobe Photoshop.
Questions & Answers

In this video, we answer some common questions about Milky Way photography. These range from technical questions about gear to practical questions about planning and safety. This 55-minute video is educational but also entertaining.
Requirements
To view the tutorials you’ll need any device that can play MP4 video files. If you want to follow along with the post-processing tutorials you’ll need these two programs:
- Adobe Photoshop CC (Some features may not be represented in older versions like CS6)
- Adobe Lightroom
Recommended Optional Programs
- StarStax (Free)
- Sequator (PC)(Free) or Starry Landscape Stacker (MAC)
- TK also has a free panel for just luminosity masks.
Save Thousands of Dollars
The sheer volume and quality of this tuition would cost thousands of dollars if you were to attend workshops or one-to-one classes. For 5 days only, you can purchase this course for a fraction of it’s actual value and begin downloading this powerful knowledge right now.
Are you ready to take your night photography to the next level AND save a pile of money?
