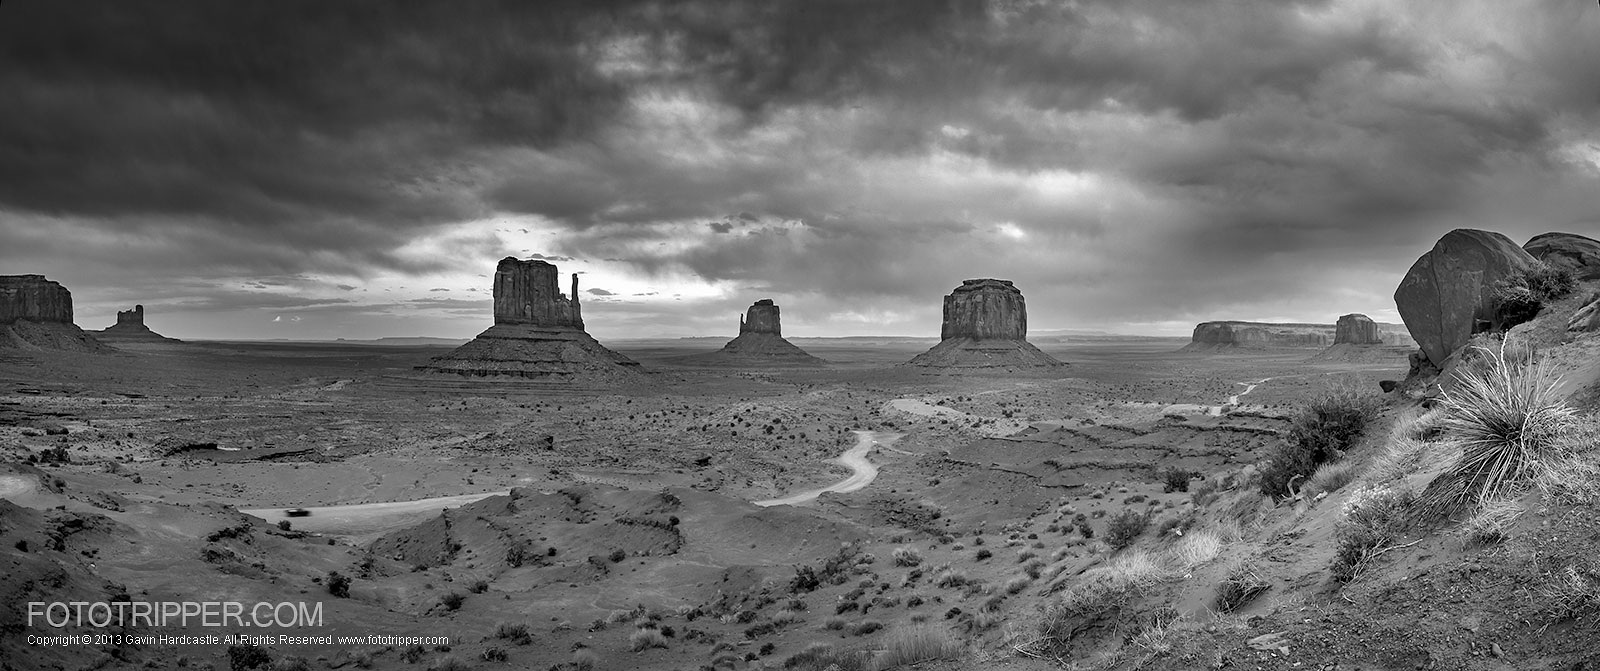
Photoshop Tutorial – How to Make Dramatic Black & White Landscapes

With this Photoshop tutorial video, It’s pretty easy to convert a colour landscape photograph into a dramatic, moody and intense black and white or monochrome image. In this tutorial I explain how to make the conversation and the steps you can take to enhance your image to give it that classic monochrome landscape look.
It’s best to watch the video to get the idea but here is a simple rundown of the procedure I used:
1 – Go to ‘Image > Mode > Convert to Grayscale’ and then convert back to RGB.
2 – Increase the contrast by using the curves tool in ‘Image > Adjustments’ and play with the curves sliders. I first made the blacks darker and then boosted the mid tones up to the highlights.
3 – Intensify the sky and balance the image by duplicating the image to a new layer set to ‘Multiply Mode’ and bringing the opacity of the new layer down to about 50%.
4 – Erase the foreground from the new ‘Multiply’ layer so that only the sky remains. Do this first with a large brush size and then reduce the brush size for a finer erasure.
5 – Merge the layers together with ‘ctrl+e’ and now repeat steps 3 and 4 until you are happy with the look of the image.
6 – Export the image as a TIFF and then open it in Adobe Camera Raw to check the dark and white point limits to see if there are any errors with blown out highlights or darks that are too black. Correct those in ACR and open in Photoshop.
7 – Make any final adjustments to the image by using the dodge brush if you need to lighten up any areas. You can also brighten any shadowed areas with ‘Image > Adjustments > Shadows / Highlights’ with a 2% to 5% boost of the shadows.
8 – Lastly add some sharpening to your image. This will be totally subjective depending on the size and resolution of your image. Less is more, especially if you only intend to display the image online. Save and you’re done.
If you have any questions or comments please feel free to leave a comment below.

Great Black and White tutorial.. Thanks